


April 3, 2026
How to Make the Most of Your MacBook Notch in 2026
Depending on how long you have owned your MacBook, it’s possible you’ve begun overlooking the little black notch that’s right at the top of your screen. On a stock Mac, it’s good for housing the camera, but it also comes at the cost of real estate in your menu bar.
Third-party developers have been taking advantage of the notch on MacBooks, transforming the space into something that can add new dimensions to your productivity.
We’re taking a look at how you can update the notch with a MacBook notch app, and how these upgrades can bring about new access to controls, file management, and widgets to change how you stay productive.
Why It’s Worth Using the MacBook Notch

On a stock MacBook, the little black notch at the top of your screen isn’t going to be useful for much. While Apple may do something with it one day, some developers are utilizing the space now.
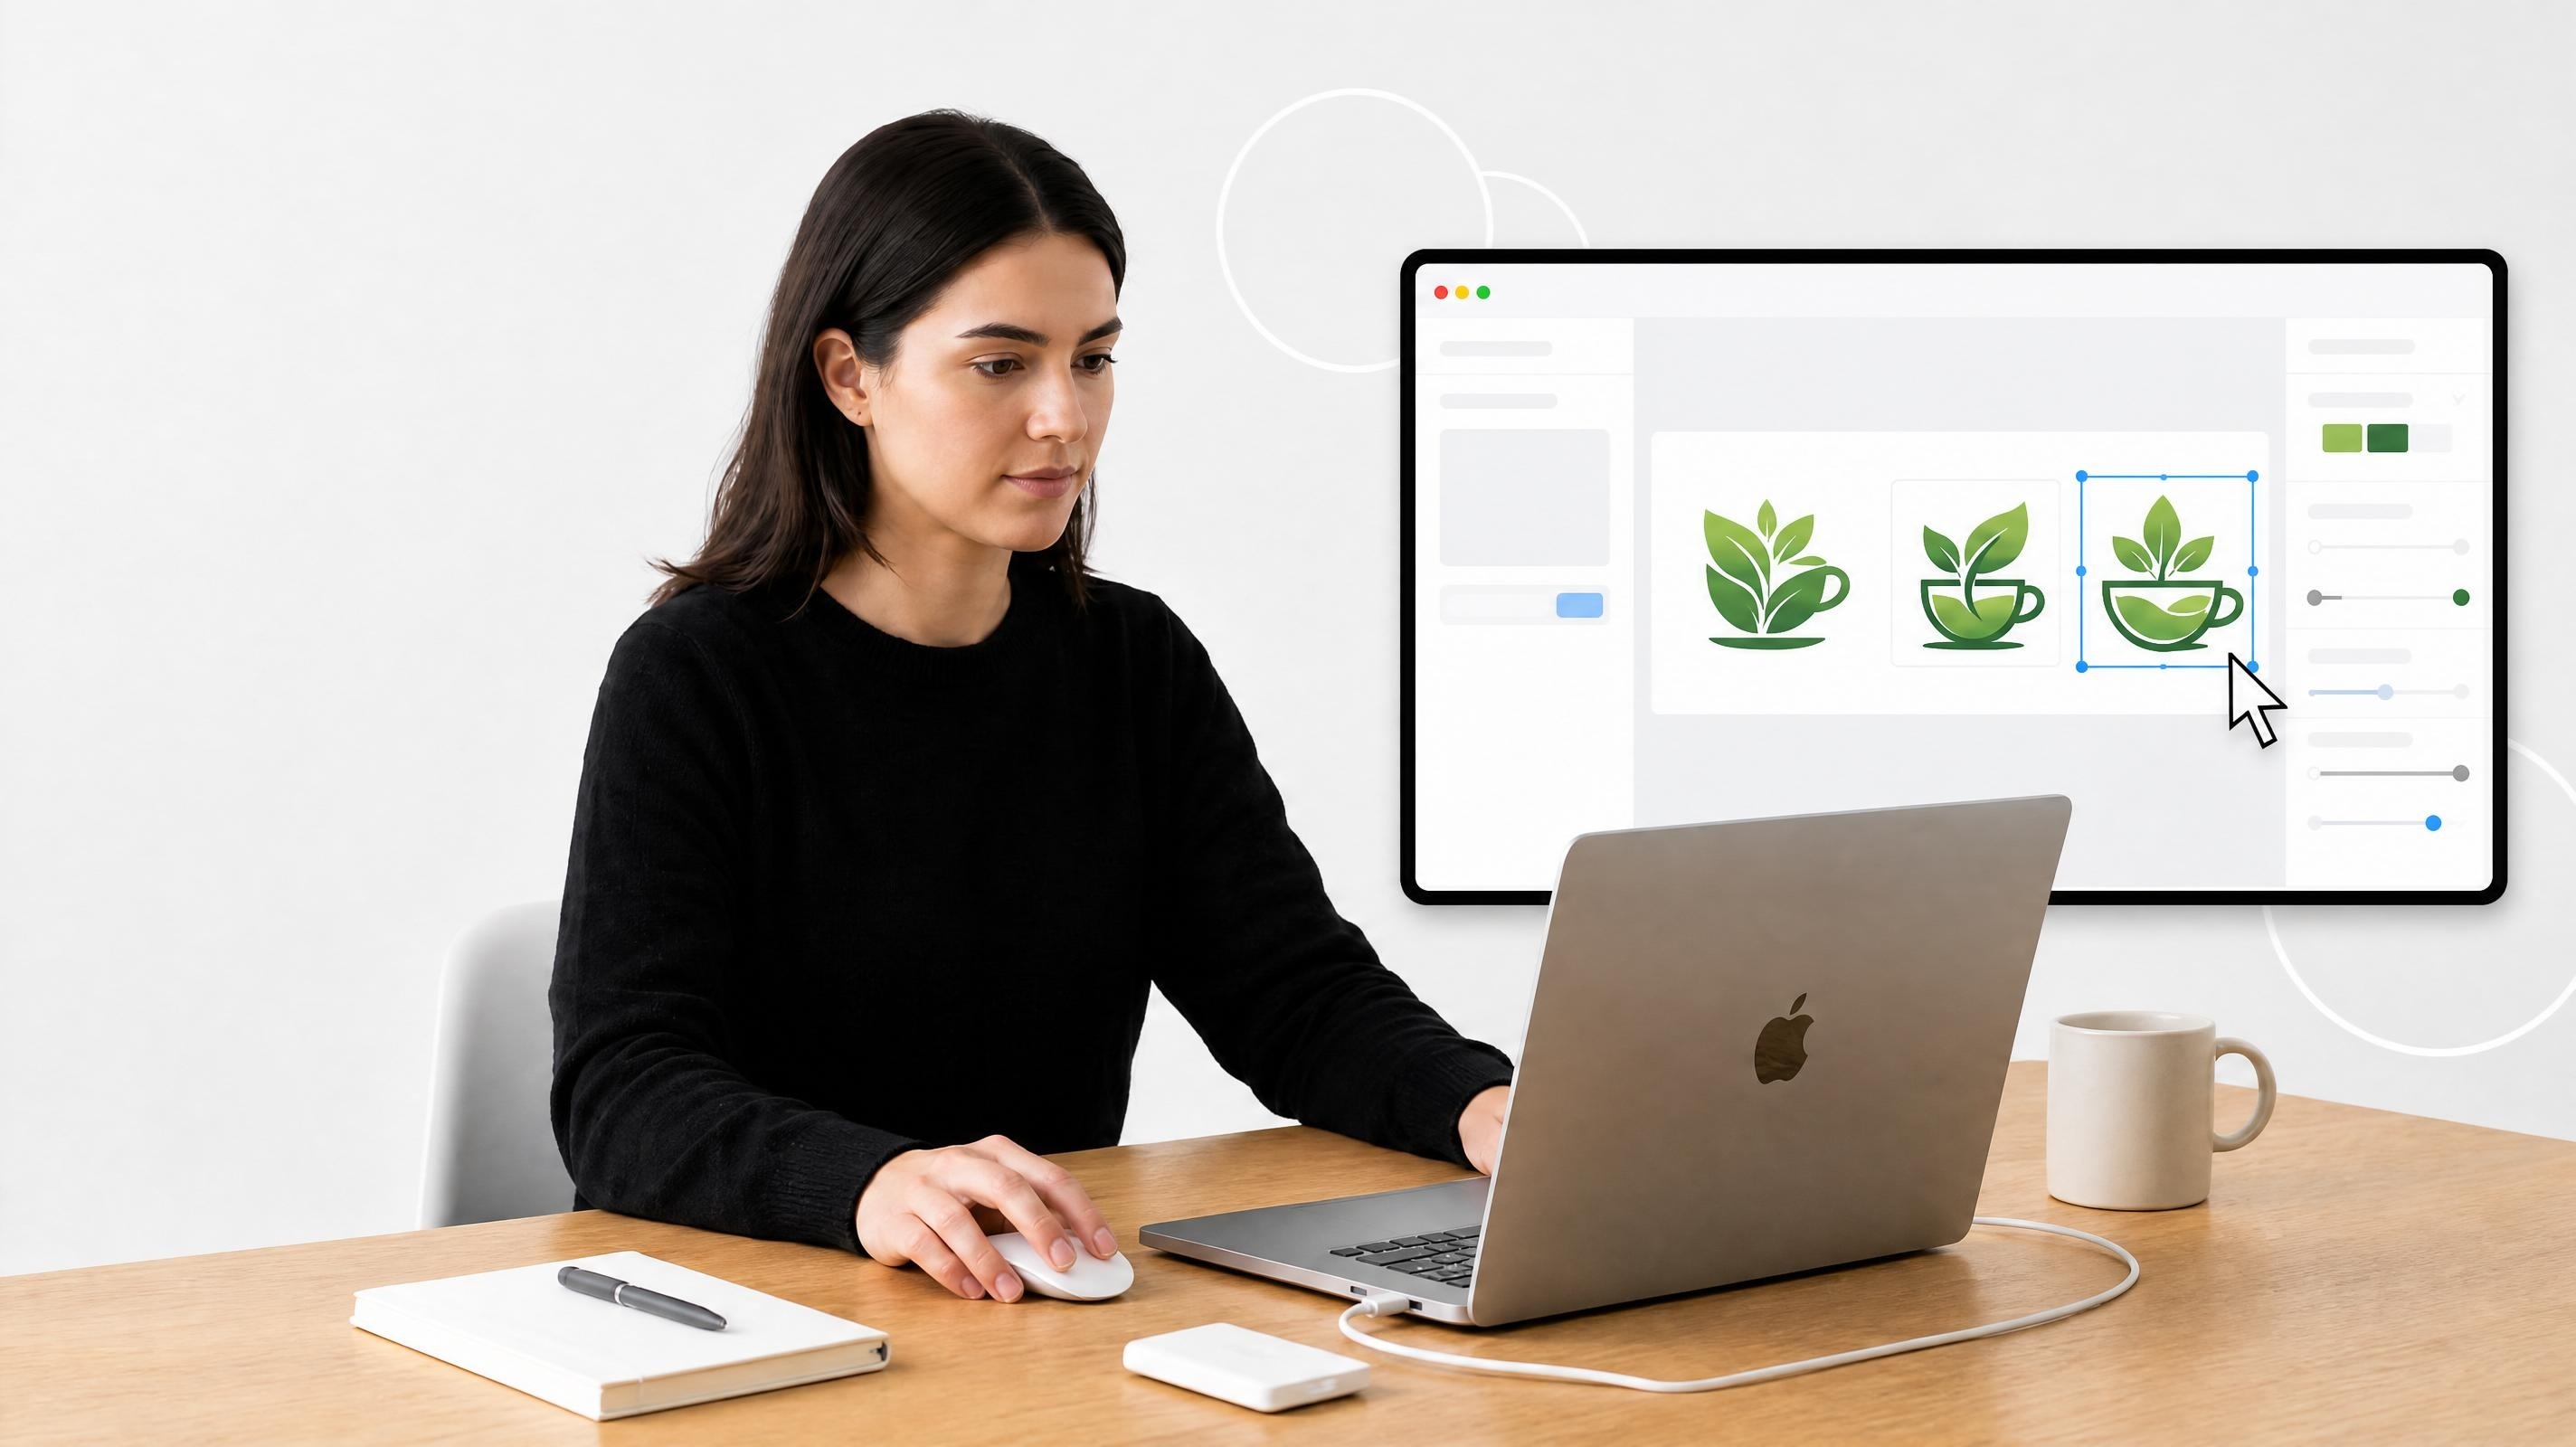
Going with the right app can transform your MacBook’s notch into a toolbox of features that can help save you time with completing certain tasks. An app like NotchNook can create a shortcut hub for frequently used tools, be a place to temporarily store files, or even serve as a quick-access control center.
Rather than just have a black space on your screen, the right notch app can transform it into something more.
Step 1: Install a MacBook Notch App
There are several options available when choosing a notch app. However, NotchNook can be a practical choice because it has a strong focus on usability rather than just providing a visual upgrade.
It’s an easy process:
1. Download and install the app from its official site.
2. Launch it and then grant the necessary permissions.
Right after installation, you’ll immediately notice your notch becoming more interactive. But let’s take a look at how you can start using these tools.
Step 2: Turn the Notch Into a File Drop Zone

Once installed, one feature worth taking advantage of is the ability to use your notch for quickly dragging and dropping files from one area to another.
Here’s how:
1. Click and drag a file, such as a document or image.
2. Hover the file over the notch area
3. Drop the file.
This allows the notch to act as a temporary storage space. It can be great for quickly moving files between apps without the need for opening several file windows, and you can also add attachments to emails or messages with ease.
Step 3: Use Widgets for Quick Access
It’s not only about quick file management, with the right MacBook notch app, you can also access quick tools through widgets.
Using NotchNook, you can:
- Access Notes for reminders
- Manage events with Calendar views
- Control music or video with media controls
Setting it up is also rather easy:
1. Open the app settings
2. Select which widgets you want to enable
3. Choose their behavior and placement
A good notch app helps keep your essential tools directly in reach without the need for switching between apps constantly.
Step 4: Control Your Media and Streamline Multitasking

Notch apps are also useful for controlling media. Instead of switching between tabs, you can skip tracks, adjust the volume, or play and pause music directly from the notch.
With a multitude of controls, the right app can serve as the command center for your Mac.
Here’s a sample workflow:
- Drag a file into the notch
- Open your email app
- Attach the file from the notch
- Add your message
And it can all be done without switching windows. Even better, you can customize your options to get even more from your setup, which can help you save time every day.
Unlock the Potential of Your Mac with NotchNook

If you’re looking to streamline your tasks and have quicker access to your Mac’s controls, NotchNook can be a solid choice for your notch.
Right now, use the code MACUPDATE30 to get an exclusive 30% off discount.
This means:
- Lifetime License
$24 → $16.80 (one-time payment) - Monthly Subscription
$3/month → $2.10/month - Free Trial Included
7-day money-back guarantee (risk-free)
If you want to find the best MacBook notch app available, download NotchNook now: Simply apply the code and start saving time on your MacBook immediately.
Is a Notch App Worth It?
There’s no need to keep wasting space on your Mac’s display. With the right tools, you can make it a rather handy part of your daily workflow and routine. While some notch apps are good for adding a degree of visual flair to your machine, going with an app that actually impacts your workflow is a solid choice for those who focus on productivity.
Going with something like NotchNook isn’t just about customizing your Mac, it’s about saving you time and streamlining your productivity. From managing files faster to getting instant access to key tools, it’s surprising how quickly the benefits add up, which makes NotchNook the best MacBook notch app around.
In fact, once you get the flow of it, you’ll wonder how you went without it in the first place.
Digital Content Specialist
Nick deCourville is a Digital Content Specialist dedicated to the Apple ecosystem. He believes that fixing something can be just as straightforward as breaking it, which fuels his exploration of iPhone and iOS settings. As the owner of an iPhone 15 Pro, Apple Watch SE, and MacBook Pro, Nick is constantly honing his expertise in Apple’s products. With a Master’s degree in English Literature and Composition from The University of Akron, he has a strong foundation in writing and communication.