


![Main image of How to Setup and Use a VPN on Mac [2020 Edition]](https://static.macupdate.com/app-gallery/60/m/vpn-on-mac-large-main-image.webp?v=1659088792)
October 27, 2021
How to Setup and Use a VPN on Mac [2020 Edition]
The task of creating a virtual private network (VPN) no longer requires networking knowledge.
But not all VPNs are the same, so below we will discuss three potential scenarios for how to setup a VPN on Mac:
-
Connect to an existing VPN using free macOS features
-
How to use a VPN on Mac and other devices
-
Build your own VPN at home for use anywhere, anytime
Connect to an Existing VPN Using Free macOS Features
Your boss may have told you to connect to the VPN while working from home. You may have just been given a piece of paper with a string of numbers and dots followed by a complex password or two. Maybe he just gave you a USB drive. Somehow, this is your key to the office network that lets you work from home securely.
If you are unsure of what your credentials might be for your work VPN, contact your IT department. All clear? Now what? Fortunately, you can use an existing VPN for Mac to connect.
To connect to a VPN you will need to navigate the System Preferences, specifically the Network settings on macOS. In short, you will add a new connection that directs your internet traffic through the VPN address you have been given:
1. Open your System Preferences and select Network.

2. Click on the + in the bottom left to add a service to the list.

3. In the box that appears, click on the interface menu and select VPN.

4. Choose the relevant VPN type, and give it a Service Name of your choosing. Select Create.

5. Now that your service is listed, you can add the Server Address and Account Name. Then select Authentication Settings.

6. In the Authentication Settings, enter the password (your user password to the network) and then the Shared Secret (the VPN passcode). Select OK.

7. Click Apply, then Connect.

If you would like to be reminded that you are connected in this way, select the checkbox for the option “Show VPN status in menu bar”. The menu bar with this icon is shown here next to the WiFi icon.
When you are ready to disconnect from the VPN:
-
Navigate back to the System Preferences and select Network
-
Select the VPN connection from the list
-
Select Disconnect
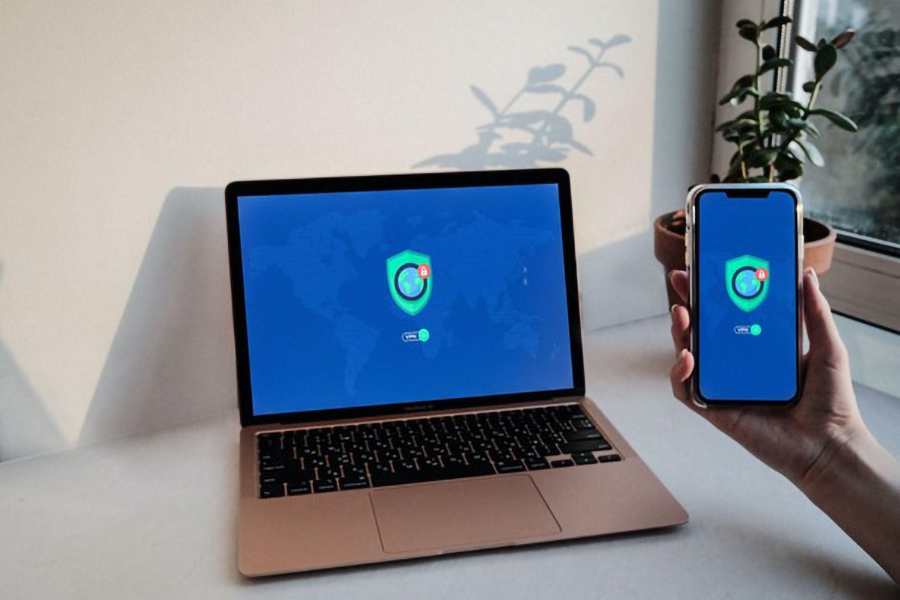
How to Use a VPN Client on All Your Devices
A 3rd party VPN client will provide access for you to use their secure servers through an app.
So, all you need to do is just download the app, sign-up for the service, and turn it on, right? This is the easy solution for those that just want to click a button and turn on your VPN.
The challenge in this scenario is picking the best VPN provider for your needs. Things to consider:
-
Do they have apps for all my devices? Sure they have an awesome Mac app, but what about my iPhone or Android?
-
Will my internet speed suffer too much? The reality of using a VPN is that your speed may be reduced, but by how much, and will you even notice?
-
Do they keep logs? Your VPN client will be processing all of your internet traffic. Does the data log get securely deleted, and how often? Where are they located and what do their laws say about my data privacy?
The most difficult part about the easiest way to turn on VPN on a Mac is picking the best VPN client.
Once you have picked the provider for you, sign-up and securely note your credentials. Follow their instructions for installation and you can connect and browse securely in minutes.
Build Your Own VPN at Home
Your home internet network is the one network that you can control and trust the most. That makes it a good idea to create your own VPN using your Macintosh as the server.
Setting up a VPN server on Mac with macOS Server is also an option for any machine with macOS 10.11 or earlier. A fun weekend project for anyone with an old Mac would be to setup your own VPN.
If you don’t have an old Mac, then there are open-source protocols called OpenVPN and WireGuard that can be used to create a VPN from your home network.
These tools will create configuration files with keys that can be shared on both ends of a network tunnel. Simply copy the *.conf files to whatever machine you would like to connect and use the relevant apps to connect via the tunnel.
Setting up a VPN server on Mac with OpenVPN requires the free app Tunnelblick.
Simply download the app and follow the directions for creating a configuration file to be shared with another machine. Other apps exist for OpenVPN and WireGuard protocols on macOS. We recommend that you search for VPN software on MacUpdate to find some of the latest tools available.
Why Use a VPN?
While you are connected to a VPN, all of your internet traffic will go from your device to the VPN’s servers and then out to the wider internet.
The VPN servers act like a mask that blocks your device IP address so the sites you access on the internet will not know who and where you are. This anonymous internet access is what makes VPN services so valuable. You may just need to keep your personal web use private and keep anyone from knowing what sites you have visited from your MacBook.
However, you can also use some VPN providers to avoid geographic restrictions on your access to online services. For example, if a video will not stream to any users in your location then you can use a VPN client to connect to a server where the video will be allowed.
Sometimes you will need to work from home, and a VPN can be setup to connect to your office network. Using a VPN for Mac in this way allows you to securely access your office files from any WiFi connection.
Bottom Line
There is more than one way for your MacBook to connect to a VPN. If the security of your browsing data is important, or you would like to finally stop companies from tracking your browsing habits, then you should not hesitate to learn how to turn on a VPN on your Mac because the need may be here sooner than you think.
Software Expert